
Today, we do science.
That’s my catch-all term for recipes I can’t quite explain. This one involves no baking, and just has one ingredient: maple syrup. A pinch of salt is optional, as is a quarter-teaspoon of vegetable oil, but only maple syrup is necessary to make this science happen. By boiling the syrup on the stove until it reaches a very exact temperature (235 degrees Fahrenheit), setting it in an ice bath until it reaches another exact temperature (100 degrees Fahrenheit), and stirring it for twenty minutes or until it reaches an approximate consistency (peanut buttery?), we create maple butter. This is not to be confused with the other maple butter, which is maple syrup whipped into butter. There is no science in that.

I made this maple butter (also known as maple cream) after my best friend’s trip to Vermont went sour. While going through airport security on her way back, a TSA agent confiscated the maple butter from her at security, telling her that “anything spreadable” couldn’t be taken on a plane. And so, without ever getting a chance to try it, my friend watched as the jar of creamy science was taken away from her. I vowed that I would make her some maple butter to make up for it.
I was nervous all while making it, fearful that it was never going to reach the right temperature, or that I had taken it off the stove too early (or late). I thought baking was precise, but anything that requires a candy thermometer is downright terrifying.
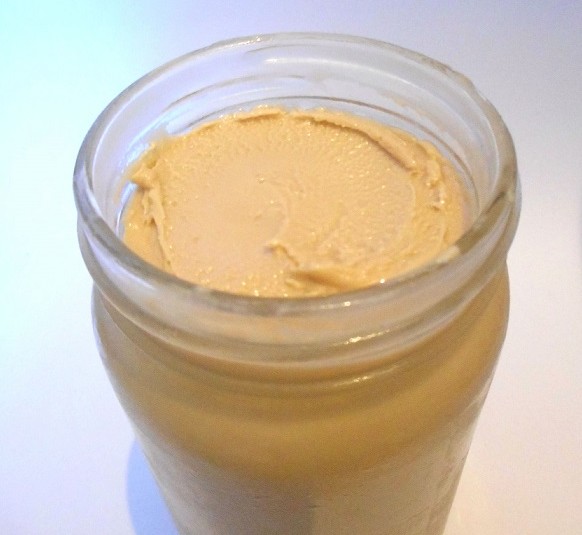
But in the end it all worked out, and I was left with a sweet, smooth spread to put on biscuits, pancakes, waffles, or–what I most did with it–eat with a spoon (and then, yes, I parted with it and mailed it to my friend. I did the right thing eventually). The texture has been likened to peanut butter, but I’d say it’s closer to natural peanut butter: it’s a little resistant straight out of the fridge, but with a few stirs, or a few minutes to allow it to come to room temperature, it softens up to that creamy peanut butter texture we all know and love.
I was also worried that the maple butter might be a little too sweet. If I’m taking maple syrup and reducing it on the stove for twenty minutes, shouldn’t it turn into some awful, cloying concoction? It’s why I hadn’t much enjoyed the Vermont maple candy my friend had mailed me–it was too much concentrated sugar; one bite in and I’d long for salt. But maple butter didn’t have that issue. It was never overly sweet, not even straight from the spoon.
This recipe/technique comes from America’s Test Kitchen. I suggest going over there to read about the technique from the experts. But a few notes from my experience:
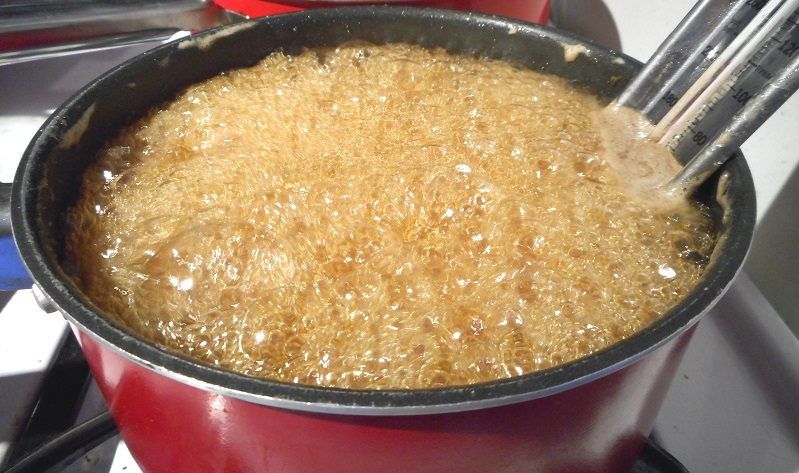
Use a bigger pot than you think you’ll need. Once the boiling syrup gets going, it may threaten to bubble over. Mine nearly did:
When your syrup does look like it’s going to bubble over, lower the heat until the syrup calms down a little and then slowly increase it. This is a two steps forward, one step back kind of situation. We’re in no hurry.
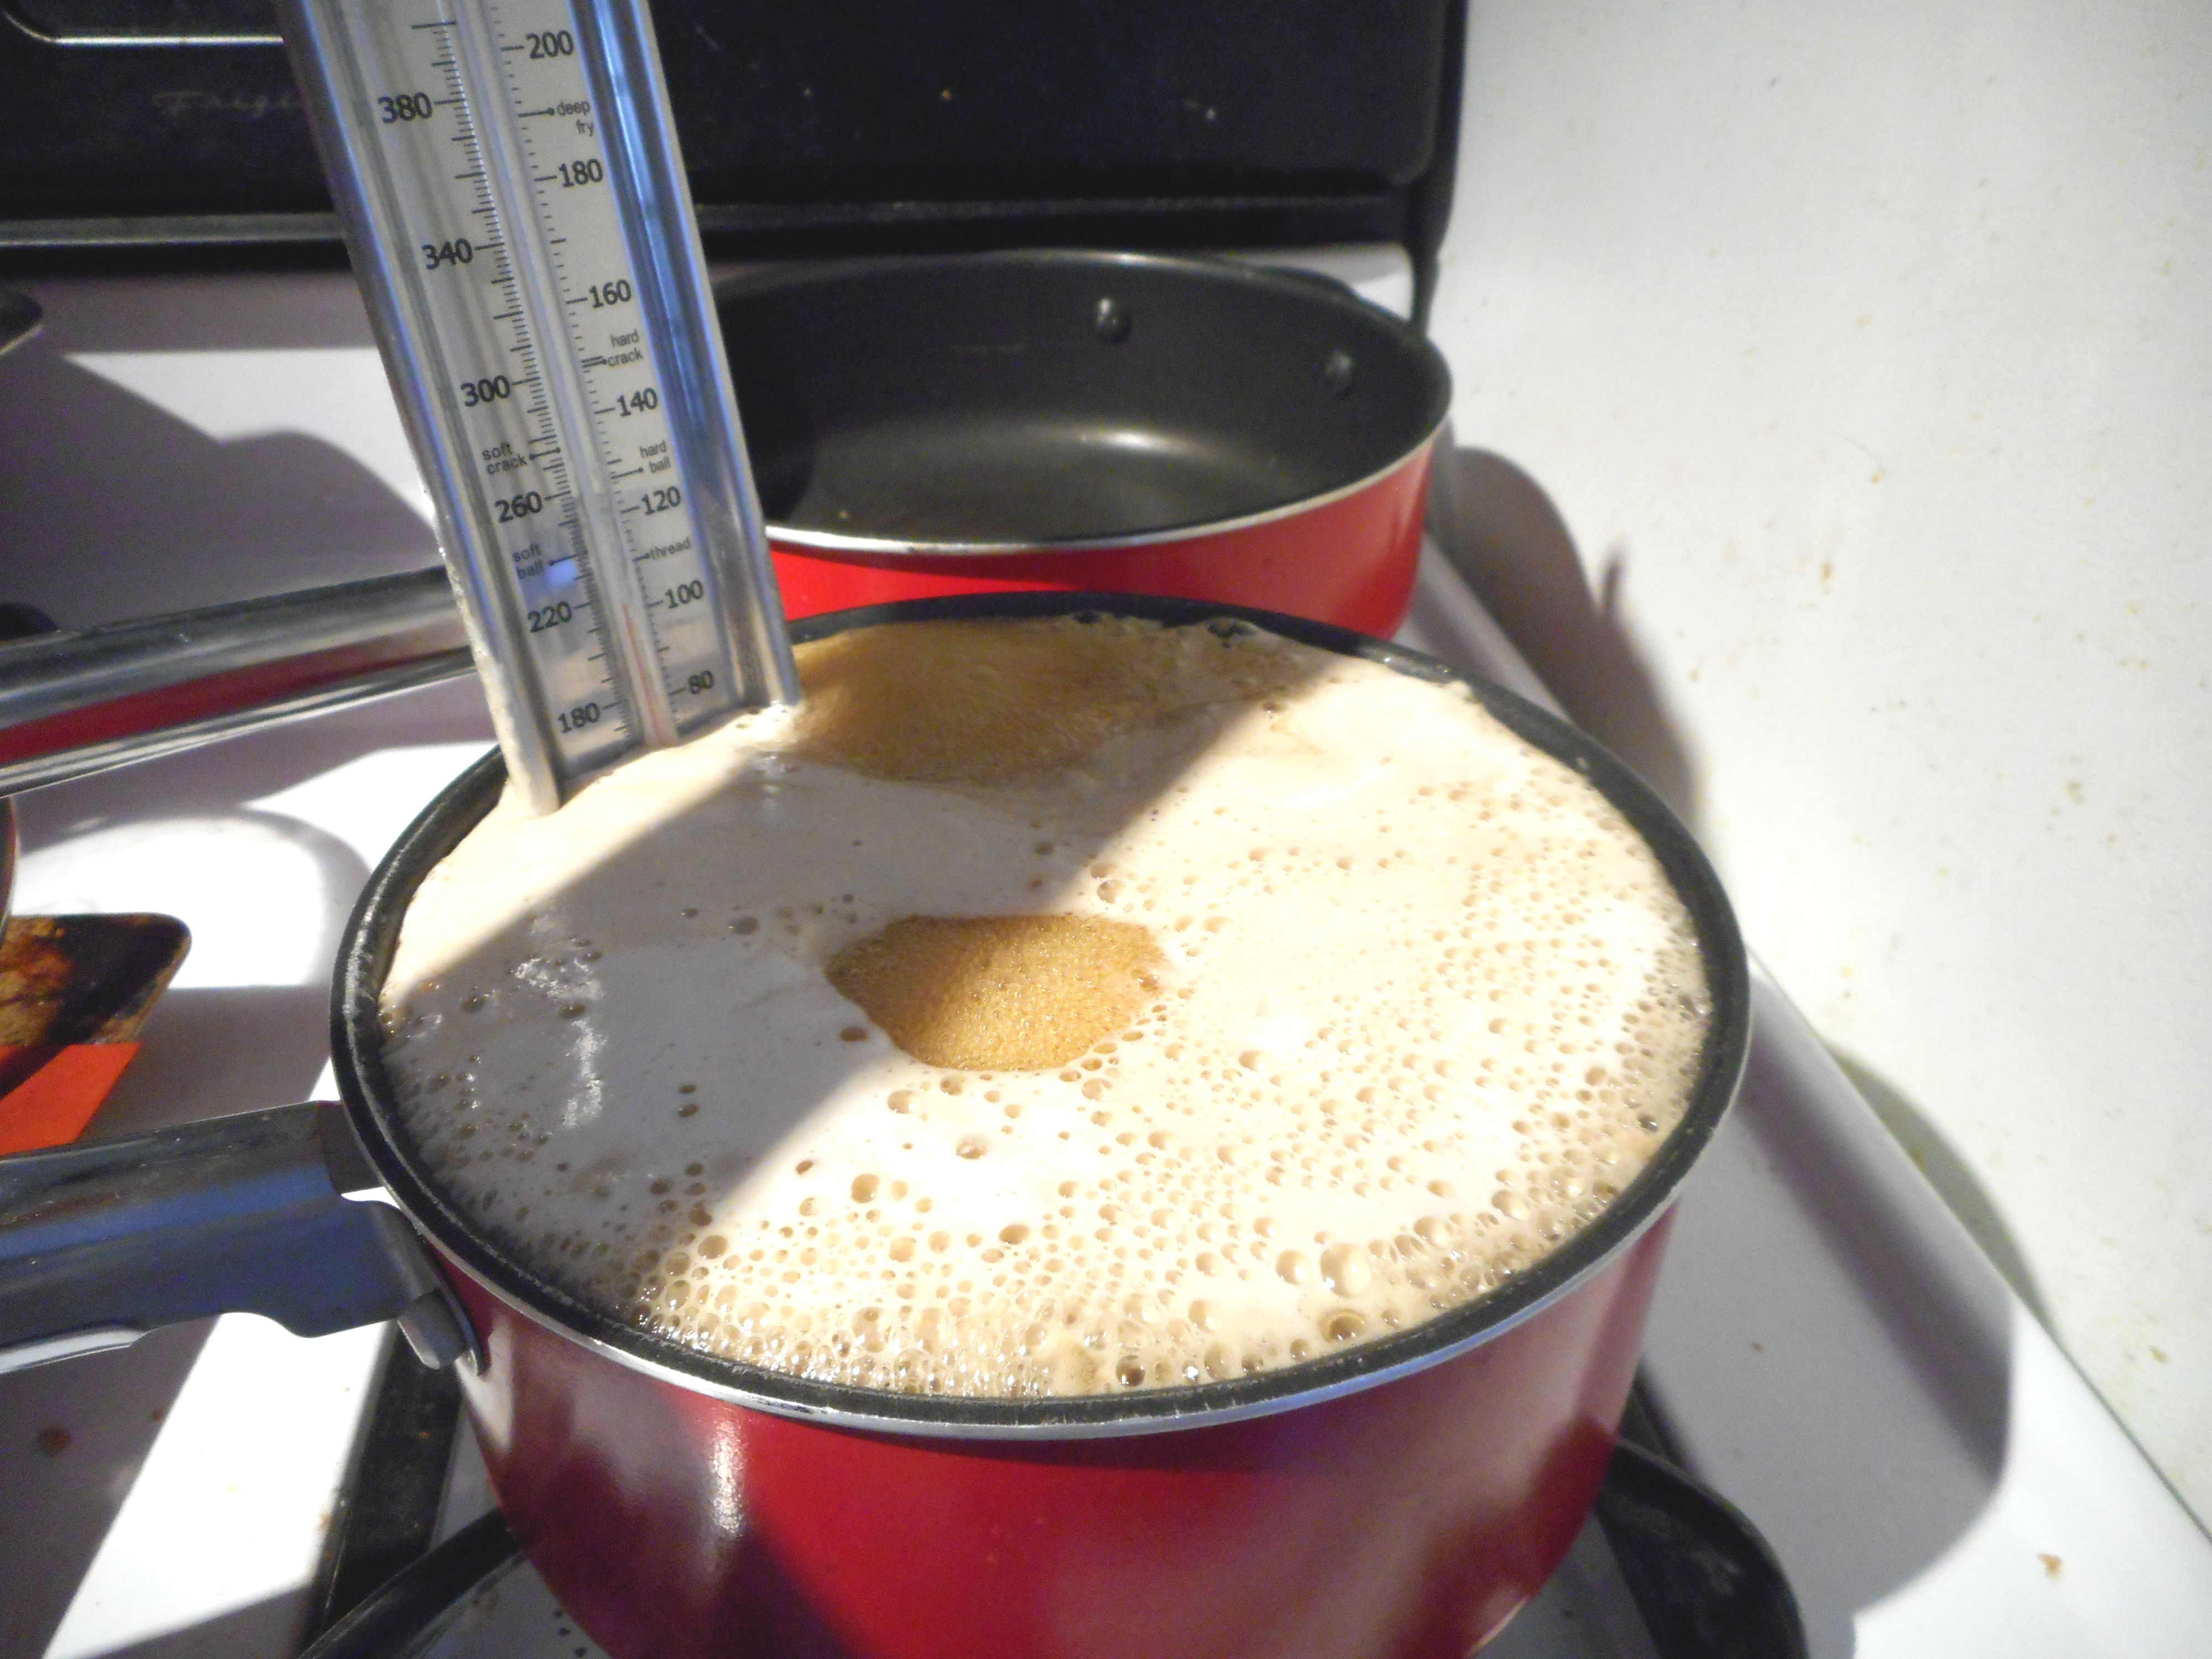
My second note: Your bubbling syrup is the color it’s supposed to be. Don’t worry about its changes in color. As my syrup approached 235 degrees, I thought it was too dark and wondered if I had burnt it and ruined everything, but it turned out fine. When you first start boiling it, its surface will be foamy and frothy. But over time, that whitish foam will disappear entirely and the entire mixture will be a deep, brown, bubbling amber. And that’s perfectly normal.

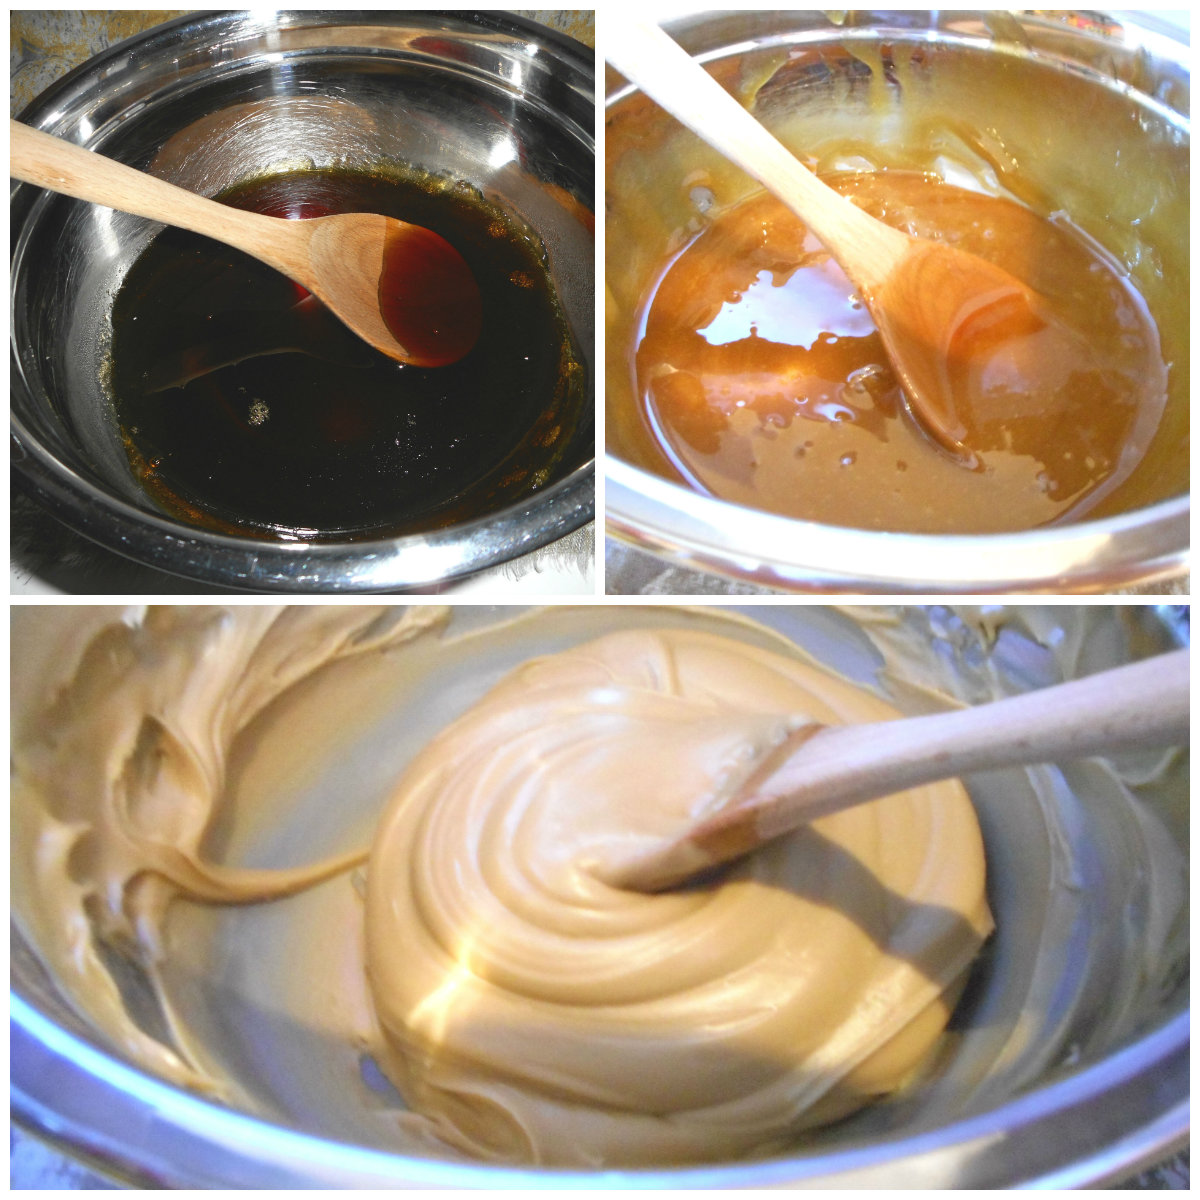
And lastly, the stirring. Just keep at it. At first it will seem wrong, and you’ll start to question all of your life choices. It will be rather tar-like in consistency, making it very difficult to stir–belligerent, even, judging from the snapping noises the mixture makes when you stir it. But soon it will grow lighter in color and stirring will become easier. You’ll find your rhythm, it will find its ideal consistency, and all will be well.
The possibilities are endless with this stuff. Try it as a frosting for vanilla cupcakes, a spread for pumpkin muffins, or a topping for oatmeal. Try it on a spoon. Really, just try it.

Maple Butter
Source: America’s Test Kitchen
Makes about two cups
- 3 cups Grade A maple syrup
- 1/4 tsp. vegetable oil (optional)
- 1/4 tsp. salt (optional)
Prepare an ice bath by putting ice cubes into a large bowl and setting a medium-sized bowl on top of the ice.
Pour the maple syrup, vegetable oil, and salt (if using) in a medium to large saucepan. Bring the syrup to a boil over medium heat without stirring, being careful not to let it bubble over. As it boils, use a candy thermometer to monitor the temperature.
When the syrup reaches 235 degrees Fahrenheit, take the syrup off the heat and pour it into your waiting ice bath. Let the candy thermometer sit in the ice bath until it reaches 100 degrees Fahrenheit. Remove the medium-sized bowl from the ice bath and stir the mixture vigorously for 25-30 minutes or until it is light in color. When ready, it will be thick and paler than peanut butter.
Put the maple butter into an empty jar. When not enjoying the maple butter on all things, store it in the fridge.

One thought on “Pure Maple Butter”